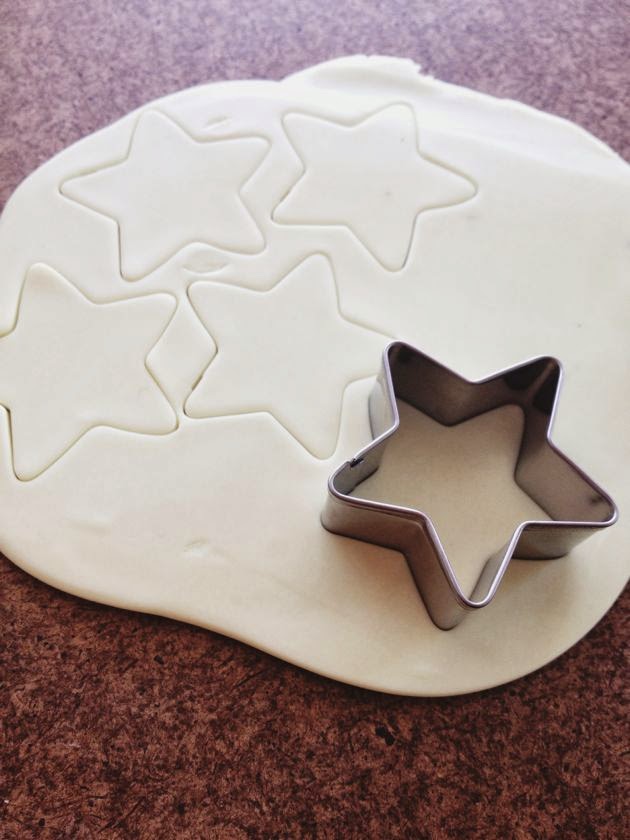
Things are plugging away over here. Thank you for all the kind words about Wylie, and our big news last week. We have our big home and pest inspection today, one of the last major hurdles before we can finally call ourselves homeowners. The boys are starting to get excited about moving, and are already talking about what they want in their new rooms. Jasper has this cool idea to keep his room white, and paint his ceiling black, for a scatter of glow-in-the-dark stars. I'm totally down with this idea, and I thought we could make it a little more like an art piece and a fun project if we made our own stars with polymer clay. You can purchase glow-in-the-dark oven bake clay and a set of star cookie cutters at the craft store. I am using 3M command strips to attach to the ceiling to set them off the ceiling ever so slightly, to give the impression that they are floating in the sky. Here's the simple tutorial.
Materials:
Glow-in-the-dark polymer clay, 1-3" star cookie cutters, command strips, rolling pin, parchment paper or non-food silicone pan liner, sheet pan.
Preheat oven to 275 degrees. On a non-stick surface, roll out clay to 1/8" thickness. Cut with star shapes and lay on covered sheet pan. Bake for 30 minutes, remove from oven and allow to cool.
Trim command strips to fit the back of the star, leaving some of the pull tab for damage free removal.
Scatter across the ceiling, make constellations, have fun! They glow brightly when the lights go off, fading gradually after a few minutes. Perfect for bed time.


These are adorable! Lovely alternatives to the plastic ones from the dollar store :)
ReplyDeletehttp://cafecraftea.blogspot.com
Thanks Vanessa!
ReplyDeleteGenius idea! Bravo mum!
ReplyDeleteAn inexpensive "black light" fixture will make them glow brightly all night!
ReplyDelete